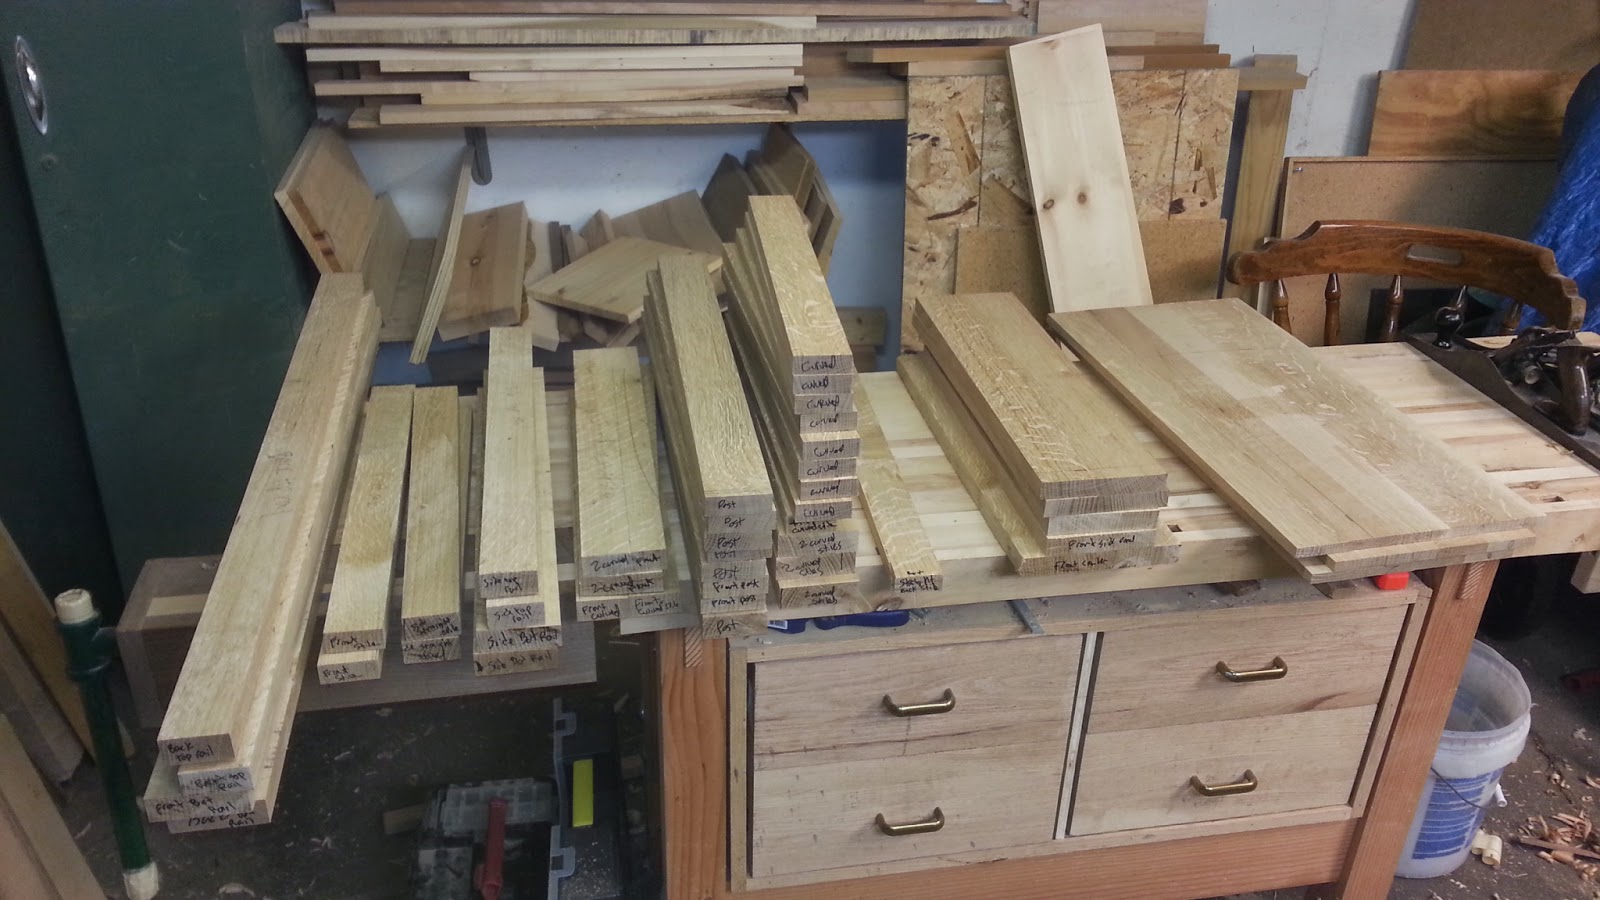
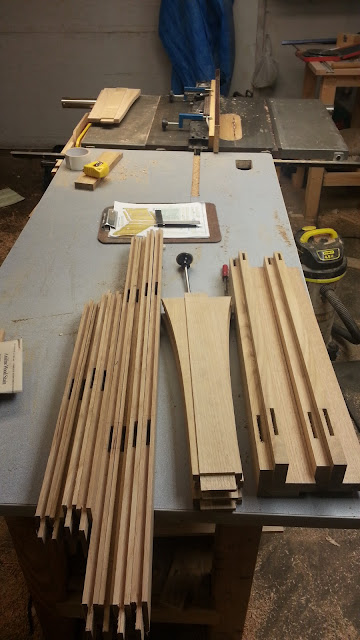
I will save you the mundane details of material preparation but rest assured there was plenty. It all came from three 12ft 1x8's. I put painstaking effort into grain match and and prominence of the ray-fleck figure across the whole piece. What I've got here in the picture is all the rough cut pieces for the chest without the lid, which will end up taking nearly one whole 1x8.
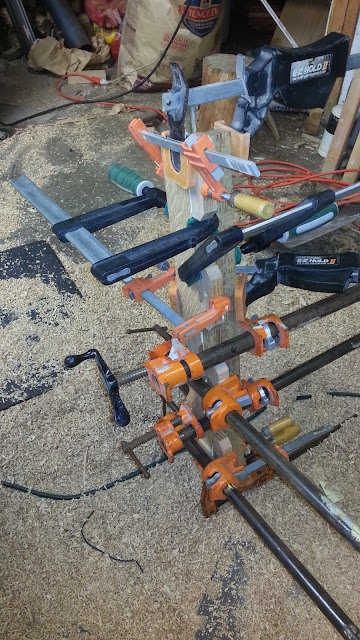
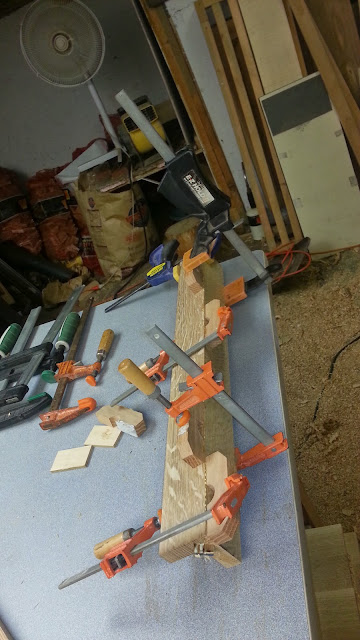
On the corners I used a method to show off the ray fleck on both exposed faces. Instead of using an 1 1/2in square post, which would have one quarter sawn face and one plain sawn face showing, I mitered two quarter sawn pieces together and reinforced them with a spline.
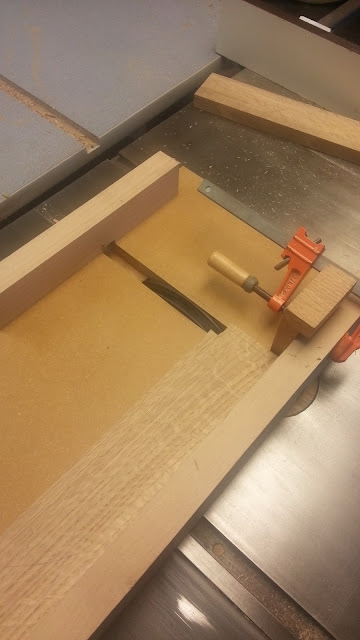
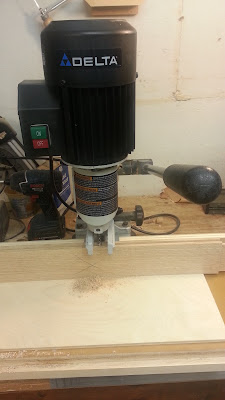
There is a lot of joinery in this chest. I was happy to have a hollow chisel mortiser and the time it took to whip up this dado sled was well worth it. Having a sled like this is an important tool for repeating cuts. Set the stop block once, and zip through the 32 or so tenons that need to be cut. I also cut the curved stiles on the bandsaw and used a router sled and a template bit to finish them up.
 |
| What a time saver!! |
Joinery Finished, now on to panels...
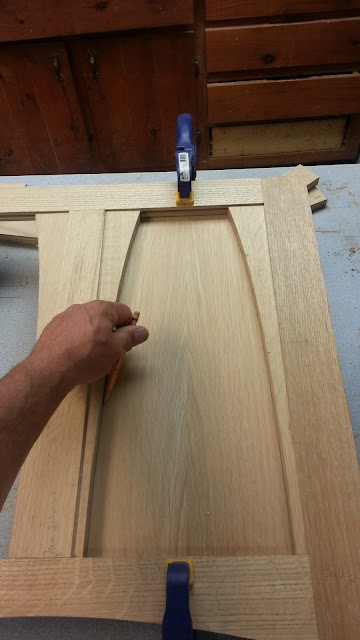
With all the joinery cut, it's time to fit this thing together. After a little fine tuning with the shoulder plane, everything went together nicely. Also a good time to make a few notes on joints that need to be cleaned up.
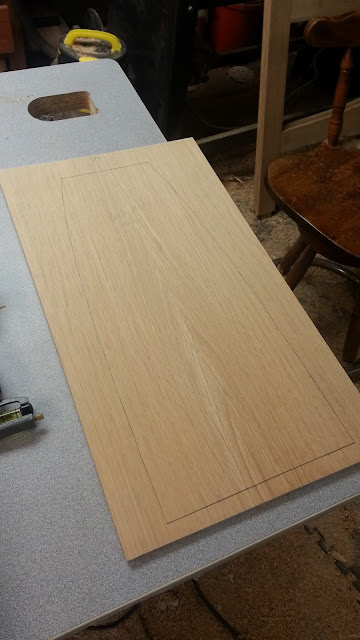
The panels were pretty straight forward. I resawed some material and sanded it down to about 1/4 in with a wide belt sander. I got some pretty nice grain pattern but no real fantastic book-match pieces but that's no surprise with quartersawn material. I dry fit the sides together so I could see the panels in place. Since they were plenty oversized, I was able to really fine-tune the final look.
