Monday, October 4, 2021

Joinery for the inside of the case


While the side assemblies are almost complete, I have lots more work to do on the 4 legs before I can glue them to the side panels. This includes all the mortises that hold the case together, including the 3 back rails and all 6 front rails. Based on the height of the drawers I was able to layout for all the joinery and cut it with my mortising machine. The modest, benchtop mortiser can't really cut much bigger than a 3/8in hole so I was forced to make the 3/4 x 3/4 mortise by making multiple cuts with a smaller bit.  The tall mortises for the bottom apron and back rails was a simple, 1/4 one. The next step is to start work on the web frames that support the drawers. There are a few different ways to support drawers by I decided to go with web frames mostly because it eliminates any screwing into the case sides to mount drawer guides. This will be my first time making frames like these but the process is simple enough. The one part that has me a little worried is that, when it's all done, they will have to set into shallow groves plowed into the sides of the case. I can't even think of a way to explain it so we'll have to wait and narrate with pictures.


Web Frame Construction

It took lots of research to finally nail down how I wanted to approach this step of the build. In all the magazine articles, videos, and books I looked at, I never found a good explanation on how to do these frames. After looking at all the different resources I could find, I felt like I had enough information to make it happen. The biggest hangup was figuring out how to do the offset tenon where the front of the framing joins with the dresser leg. Here are some of the points I considered: there needs to be a strong joint at the front, the web frame needs to be supported in the sides of the chest but can't be glued in. As they say, "necessity is the mother of all invention" and what I needed to accomplish dictated the process on how to get there. 

Layout for offset tenon


The picture above gives a really good look at the finished joinery. The nice big tenon, which is 3/4 x 3/4 x 5/8 deep plus the large shoulders on either side, will make a rock-solid joint. Then you can see the 1/8 inch or so that the line marks out that will be captured by a groove plowed into the inside of the chest. The tenon and maybe the first inch or so of the frame will be all that gets glue. Because the side is solid wood, I need to account for seasonal movement. Gluing the frames the entire length across the sides would lock things too tightly and lead to a split in the wood or a failure somewhere. Besides, once the case is all glued up the web frames will be securely captured between the two sides of the dresser.


The last step of installing the web frame is to route a shallow groove on the inside of the case for it to be housed in.  I already have the perfect jig for the job. It's an adjustable dado guide that's meant for this exact sort of task. I think I made it years ago for a bookcase that I made for the in-laws. One of the sides is adjustable so you just put your workpiece in the gap, tighten the two sides against it, and then tighten down the adjustable side of the jig. I used a router bit with a top-mounted bearing that rides along the jig and I've got perfect fit dadoes every time. They are easy to place because they just extend off the mortise that I already cut. 


Tuesday, November 10, 2020

Stickley Dresser Build


 I've wanted to build dressers for my kids for a long time. I've always loved the Craftsman style of furniture and design so I was leaning in that direction. I've had plans in mind and even bought a book full of plans for craftsman furniture. I wanted to build the classic Stickly Dresser. 

 A few years back I had to break down and buy one for my son's room. I was a little spiteful that I hadn't had the opportunity to build one yet so I found the cheapest one out there, knowing that I'd be building an heirloom dresser "really soon". It's been about 3 years since then and I'm finally getting the opportunity to dive into a pair of dressers for my kids to cherish for a lifetime. Sadly it's due to COVID-19 pandemic that I'm afforded this opportunity but a labor of love like this project is really just what you need to help sustain through these strange times where time itself seems to be altered and the normal temporal benchmarks we rely on to schedule our lives are absent. While certainty in our everyday lives becomes a luxury, its a little comforting to know that there's still certainty in the shop and that progress will continue. 


In the beginning there were boards, lots of big boards...

What's pictured is only about half of the wood I had to go through. There is an equal pile of mahogany but I couldn't fit it all in the shop at once for the layout process, and a process it was. The ash is all 2in thick so I can saw it in half and get parts from both sides. The mahogany is only 1.5 in so I can only get one board out of the thickness plus a 1/2 thick board that I can still use on other parts of the dresser. 

Before I could start laying out for all the parts I had to evaluate the wood for grain pattern, color, defects, and continuity between boards. Luckily both these piles of wood came together so they are all nicely uniform. Next, I had to consider the most visible parts of the dressers and start picking those parts first. I wanted to get some reasonable straight-grained stuff for the legs, side rails and stiles, and some nice cathedral arches for the panels. Then I had to figure out what my options were for all the drawer fronts. After many false starts and erased lines, I finally coaxed a bunch of boards out that look good together. The ash was more challenging than the mahogany for a couple reasons. It had a fair amount of sapwood in it and I had to keep flipping and considering both sides of the boards when looking for complimentary grain patterns. The mahogany had a pretty uniform grain pattern so it didn't take so much deliberation when choosing how to lay out all the parts. 


Legs and Sides

As with any casework you have to start with the carcass so I went to work on the legs and side panels. The ash proved to be the easier of the two when it came to the legs. The boards were already thick enough so I just needed to cut rip them off and square them up. The mahogany was a different story. When I ripped off the pieces to be glued up, they express a fair amount of bow. It took a substantial amount of time to flatten them. I had to do it by hand because my 6in jointer just isn't long enough for a 40 in long board. 

ripping the legs at the bandsaw


mahogany leg glue-up
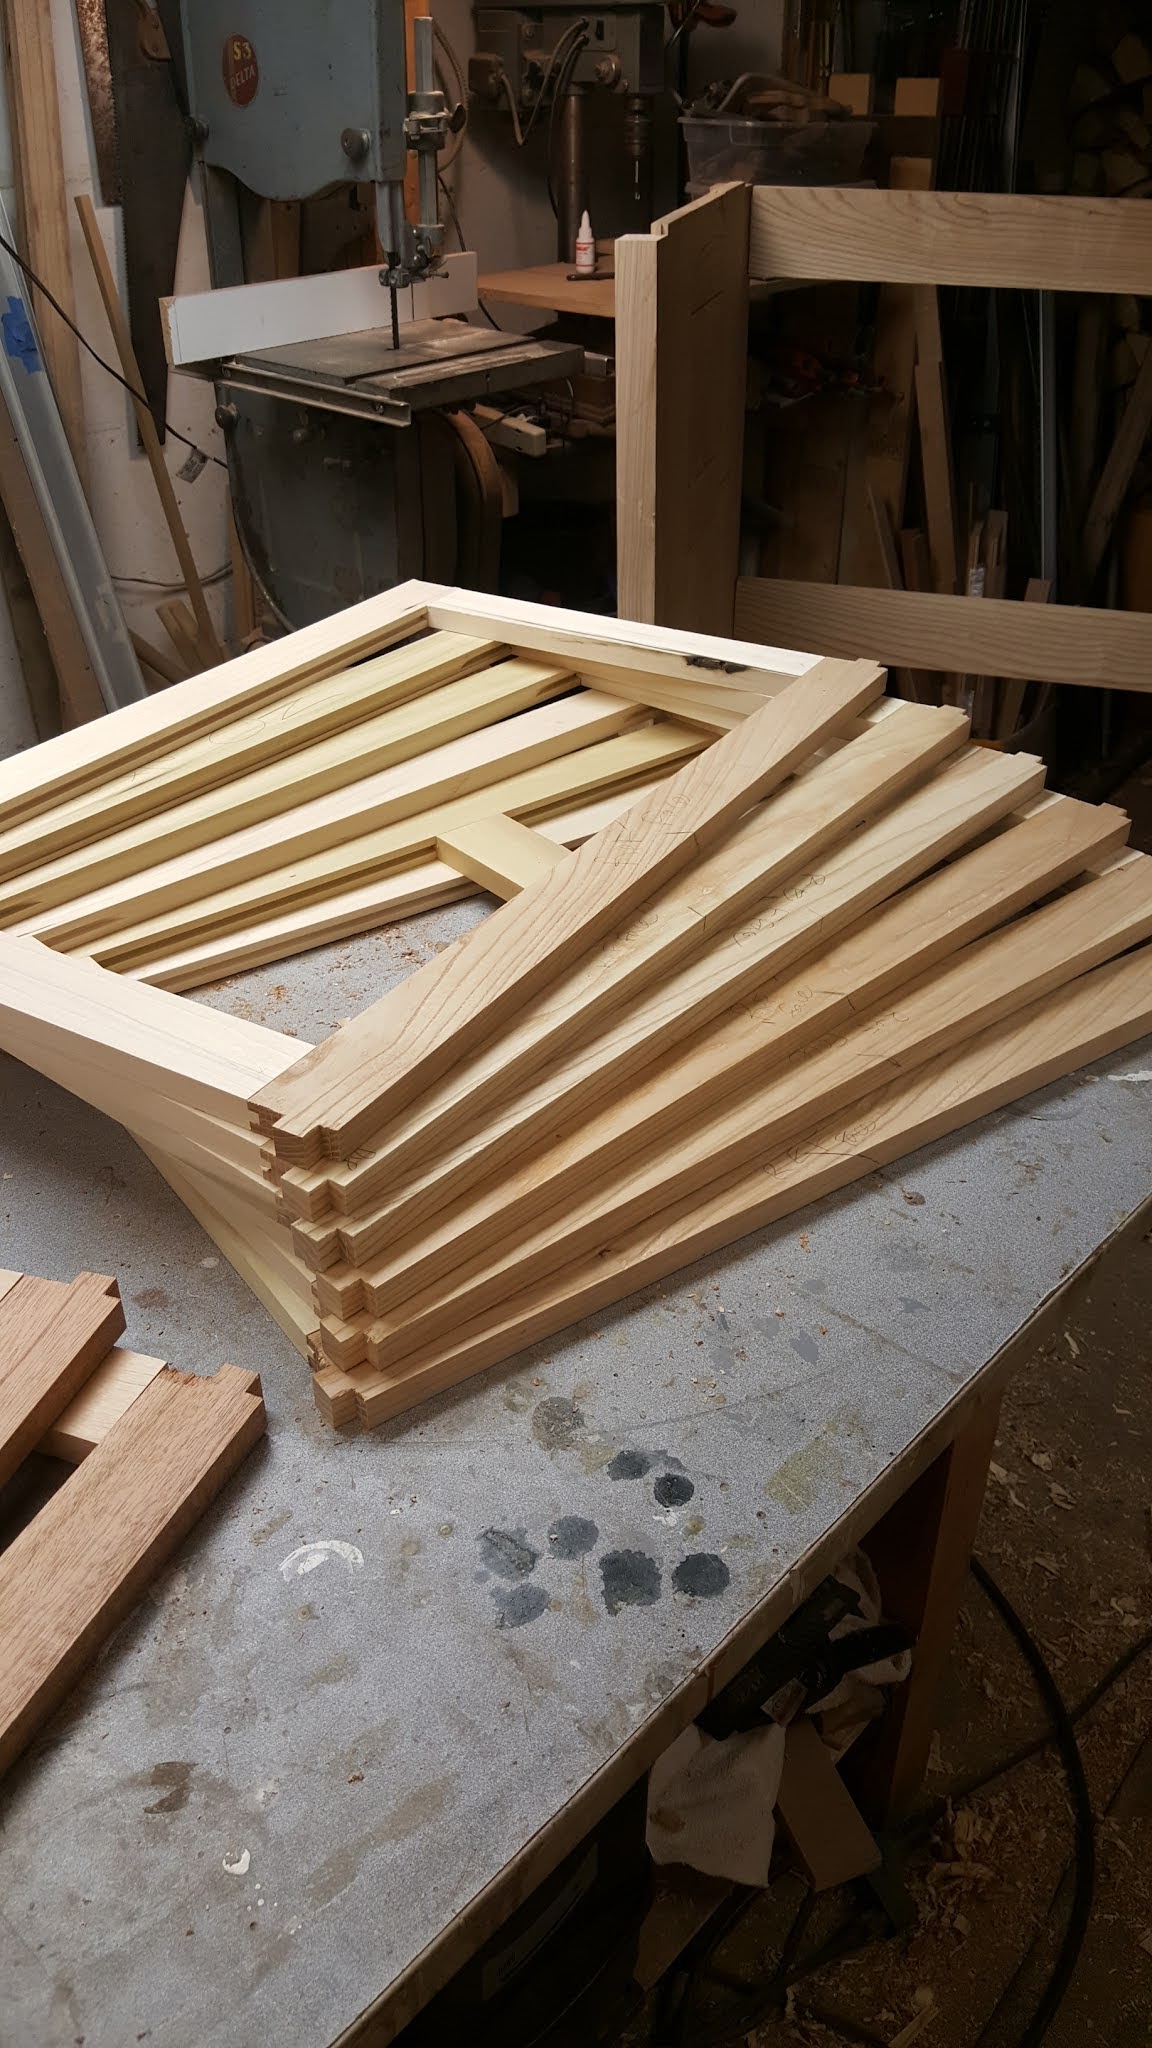


8 finished legs


Side Panel Assembly

Next up are the side panels. They include two full height stiles, 3 rails, and 2 panels. I've been anticipating resawing these panels for a while now because they are too wide to resaw on the bandsaw. That means that I have to cut most of the biggest pieces by hand. Luckily I have a nice hand saw for the job. 


Rough material for side panel frames

The first step is to resaw all the material into roughly 1 inch thick boards before flattening. Of course, I turned to my most appreciated tool in the shop, my 1940 Delta bandsaw, to do the resawing. I have loved this tool since I saw it sitting on the sidewalk at the Park Point Garage Sale and brought it home. The same as with the legs, slicing these boards in half released some stress and I had to plane out a lot of bow by hand. 


Some may wonder, "Why the shims under the high spots?". There's an old saying about planing boards, 'in like a banana, out like a banana'. That is to say that if you put a board through the planer that has this kind of bow, all you get out the other side is the same board with the same bow, only thinner. Planers don't take out bow. That's the job of a jointer, but since I only have a six inch jointer the bed is not long enough to accommodate the side rails. So again, why the shims? In order to get the board totally flat, I have to take out the natural bow. If I were to just clamp the board into the tail vice and go to town. my big-ass jointer plane would just push the board flat down to the bench giving the same results as sending through the planer. The shims are there to keep the natural curve in the board while I plane so I can plane out the bow. Another option would be to make a sled to run through the planer that had the same shims to hold the board in its natural shape. The be honest, that didn't occur to me at the time because it was still early in the pandemic and I actually wanted to do as much by hand as possible. Eventually, I got everything flat and square and left some carnage behind. This step generated close to a 30 gallon bag of shavings. 


With the frame parts taken care of, it is time to turn to the panels. I'm looking to get a nice, continuous grain pattern between the top and bottom panels so that means taking them both from the same face of the same board. I also needed them to be a solid panel instead of a glue-up. At around 8 in. wide, they are slightly too big to resaw with my bandsaw. However, they were not too big for the hand saw. In truth, I've actually been working on these panels for a while. It takes a lot of time to saw through an 8 in. x 36 in. piece of Ash. I did the work in many short shifts, sawing for 15 minutes here and there. I'm guessing this will be the most memorable part about making these dressers. I still get to do more of it for 2 of the 3 large drawers on each dresser, so the fun's not done yet. 

As I saw the panels, I've also been working on the joinery for the assembly. It's about as simple as it gets with grooves on the inside edge of each piece as well as stub tenons on the rails. The vertical stiles also get a tongue on the outside edge to fit into a groove on the legs, but that doesn't come until after assembly. It felt kind of weird assembling these parts considering how many hours it took to process all the material. 20 hours of planing and sawing for a 10 minute glue-up. I guess that's how it goes. Glue-ups should all go nice and quick. 


With the frame and panel assembly all glued up, now it's time to make the tongue on the outside faces and the corresponding groove on the leg. For this operation I turn to the table saw with the dado blade installed. The groove on the legs is actually a stopped grove on the bottom so I have to stop short on the table saw and finish it up at the router table. For the frame and panel assembly I bury the blade under a sacrificial fence and use a feather board to help stabilize the large workpiece over the blade. 


Now that all the joinery is taken care if it's time to put it all together. This is the first big assembly milestone for this project. All 4 side panels are dry fit and ready to be glued up. Before I can glue the legs on, I have lots of joinery to cut in them for the back rails and all the front rails of the drawer webbing. 


Thursday, December 28, 2017

Walnut Table Top

Walnut is a lovely wood that is a pleasure to work with. Where the caveat lies in finding enough matching boards for a project. The variation of colors in walnut can vary wildly from tree to tree.  Here we see 5 boards and at least 3 different shades of walnut. I was trying my best to save the client some money and use lumber I already had in stock but… I’m good but not magic.


 I had to head to my lumber dealer and search through his stock to find something that would match. The biggest board I had in stock has some reddish tinge to it so that’s what I looked for. It took a while but I found a real beauty that ended up being perfect for the job. When I picked it I was planning on cutting off the bark but, once I got it home and measured everything, it turned out that I needed to make use of the entire board. I went ahead and peeled the bark off and realized that it had a really nice natural edge. I’ve never worked with live edge but after checking that it was OK with the client, I went for it. 


I mostly skipped taking pictures of the prep work on the main field of the table. It’s pretty boring stuff. I resawed the big board that I started with to make 4 nice 1x6x34 boards. Resawing is when you set the board up on its narrow edge and slice it into 2 thinner boards. I used my trusty old Delta bandsaw that restored real-time right here on this blog. I really love that saw. 


Here's the results of the resawing. You'll notice that the two boards at the bottom of the picture are a nice book match but the others are two different boards. And you can clearly see that one of the breadboard ends is another board again. The way I tried to work it out is a border of darker boards with the center field being lighter stuff. You can see it in the following picture.


Now here's a shot of the natural edge. I'll have to carefully trim one of the boards to try for a nice, smooth transition.


Time for glue-up!  After jointing the edges of all the pieces I threw some biscuits in for alignment and glued up. It was a pretty stress-free glue-up. The one thing you have to watch out for on a bigger panel like this is that the clamps aren't bowing it up or down. If it does start to happen, you can just push the panel flat with some shims between the clamp and the pane.


    After squaring up the panel I cut the joinery for the breadboard ends and install the 4 boards around the outside and a clean up with my trusty old jack plane. This one dates from the 1880's.


The clients have a base they want to use for this tabletop. It came with a glass top that they're sick of so I had to figure out to attach this top to that base. My solution was threaded inserts. There are very simple drill attachments that install these handy little inserts but I don't have one. I had to get creative to get them in but it was nothing that I couldn't overcome. 


On to the finish booth and installation


Monday, May 22, 2017

Storage for the mudroom

It's been a long time comming but now that we have 2 kids worth of shoes, boots, coat, and god knows what else, its time for a serious storage and organization solution in the back mudroom. Taking some inspiration from cabinets I made while at a cabinet shop, I decided on a bench with big drawers underneath and some lockers and small cubbies above. When its all said and done there will be more room and more ways to conceal the mess. I had some 5/4 Ash that had been sitting around for a few years now that was perfect for the bench seat but I needed to pick up some more for the face frame and drawer fronts.


Casework
boards for the bench seat

Its been a few years since I built any cabinets this big so I was a little rusty at first. After a couple missteps I got on track and finished the bench.


Next was the upper locker section. The joinery was a little tricky on the table saw with a dado blade since some of the pieces were so long. I managed and got everthing dry fit. Next is the face frame and back.


Drawers

As I said, its been awhile since I did a project this size and I forgot how much work goes into making drawers. It'd be a breeze if all my lumber was nice 3/4 S4S but I always start with rough lumber. In this case I had some 6/4 maple that I resawed in half on the bandsaw and planed down to 5/8 for the drawer boxes. For the drawer fronts I had enough leftovers from the face frame to make rails and stiles. I have some 8/4 ash that I resawed and planed down to 1/4. The planer and bandsaw got a good workout for this part of the project.
The results of a resawing session


All the parts for the drawer boxes and fronts


A crude mockup of a drawer front

Drawer Fronts
 I went with a simple stub tennon for joinery on the drawer fronts and a 3/8in thick flat panel. It worked well to resaw some 1/2 pieces off the 8/4 ash and bookmatch them for the panel. To fit the panels into the groves I decided against the 'easy' method of using a dado blade and instead went with a 'new to me' rabbet plane. I thought since these were drawer fronts and the back of the panel will be mostly hidden, why not try out a new tool. I did enjoy using it and it worked as it should have. Two points I realized thought is that the nicker needs to be sharpened and while it's not exclusively a single direction plane, redoing the fence and depth gague isn't really easy. It just means that sometimes you end up planing against the grain. The other problem I was was workholding such a thin pieces in a way that didn't impede the plane. 


Joinery for Drawers

Up next is the drawers. A couple of things about these drawers is that I resawed and milled all the stock from 6/4 material and they are 12 in deep. These two facts made it take a long time to put together 3 measly drawers. The first half of the material was 6in wide so I just had to resaw and glue up the panel. The second half was made from 4.5in wide stock and meant I needed to glue up 3 pieces per panel. I could have made life easier if I would have used some of the wider birch I have but the big stff is all 'Red Birch' and I thought drawers boxes just won't be a wise use of such nice stock. So needless to say my band saw and planer got a good workout on this part of the project. Its been quite a while since I used my dovetail jig so it took me at least 45 minutes to get it dialed in before I could get to work. Here's a great tip for everyone to remember - Make test cuts to dial in your setup. I guarantee you'll never regret it. There's no need to comment on the obvious problem in this picture. I didn't trim my test boards to a width that made for clean dovetails on the ends but I did make the necessary steps to do so on the finished drawer parts.


As you can see I still have plenty of material left on my test boards so while it took me a while to get things dialed in, I didn't have to do too many tests before I could get on with it. 

These big drawers almost max out the capicity of the jig!


It's all too often the case that a user manual or instructions  are very ineffective. The manual that comes with the PC jig is an exception. It has nice clear instructions and pictures along with some good tips to make things go smoother. I'm a fan.


Next up is spraying finish. I both dread it and look forward to it. I'm excited because it'll be the first real chance to use my HVLP setup that I got a over a year ago. It was an incredible Craigslist find. I'll give some details in the next post.