Monday, February 18, 2013

Holy sheet, plywood

After calling around town I found a good price on some oak plywood and they were nice enough to cut the sheets in half to fit in my car.  It's really nice stuff but I'm afraid the color match isn't so great. I'm going to have to try some different things with oil or stain to try for a better match.  It's always a gamble mixing real and plywood.

I spent some time this weekend breaking down the plywood the rest of the way.  The next step was to cut some dadoes for the fixed shelves and the top. I would have loved to use the dado blade in my table saw but I'm just not set up for crosscuts on six foot shelf sides.  I did consider building a crosscut sled for dadoes but I just didn't want to take the time and have to worry about storing it.  Luckily the plywood is actually very, very close to 3/4 in so I was able to use the router along with a guide. 


The extra little piece of hardboard on the router is to keep it from rocking off the straightedge guide, worked great. The next task is to get the edging mounted to the fixed shelf, cut the dadoes for the shelf standards, and get the case glued up.  Then its on the the real wood framing and the crown moulding and other embellishments on the top. 

Tuesday, February 12, 2013

Bookshelf Build-along

I'm getting underway on a bookshelf for the in-laws new place.  I've been wanting to build something like this for awhile now, but for my own house. It's going to be a mix of "real wood" red oak and some plywood.  It will give me a chance to use up some nice rough sawn boards I've had laying around for about a year now.  I'm working off a plan from Woodsmith magazine. I'm looking forward to trying some new things like the crown and dentil moulding. 


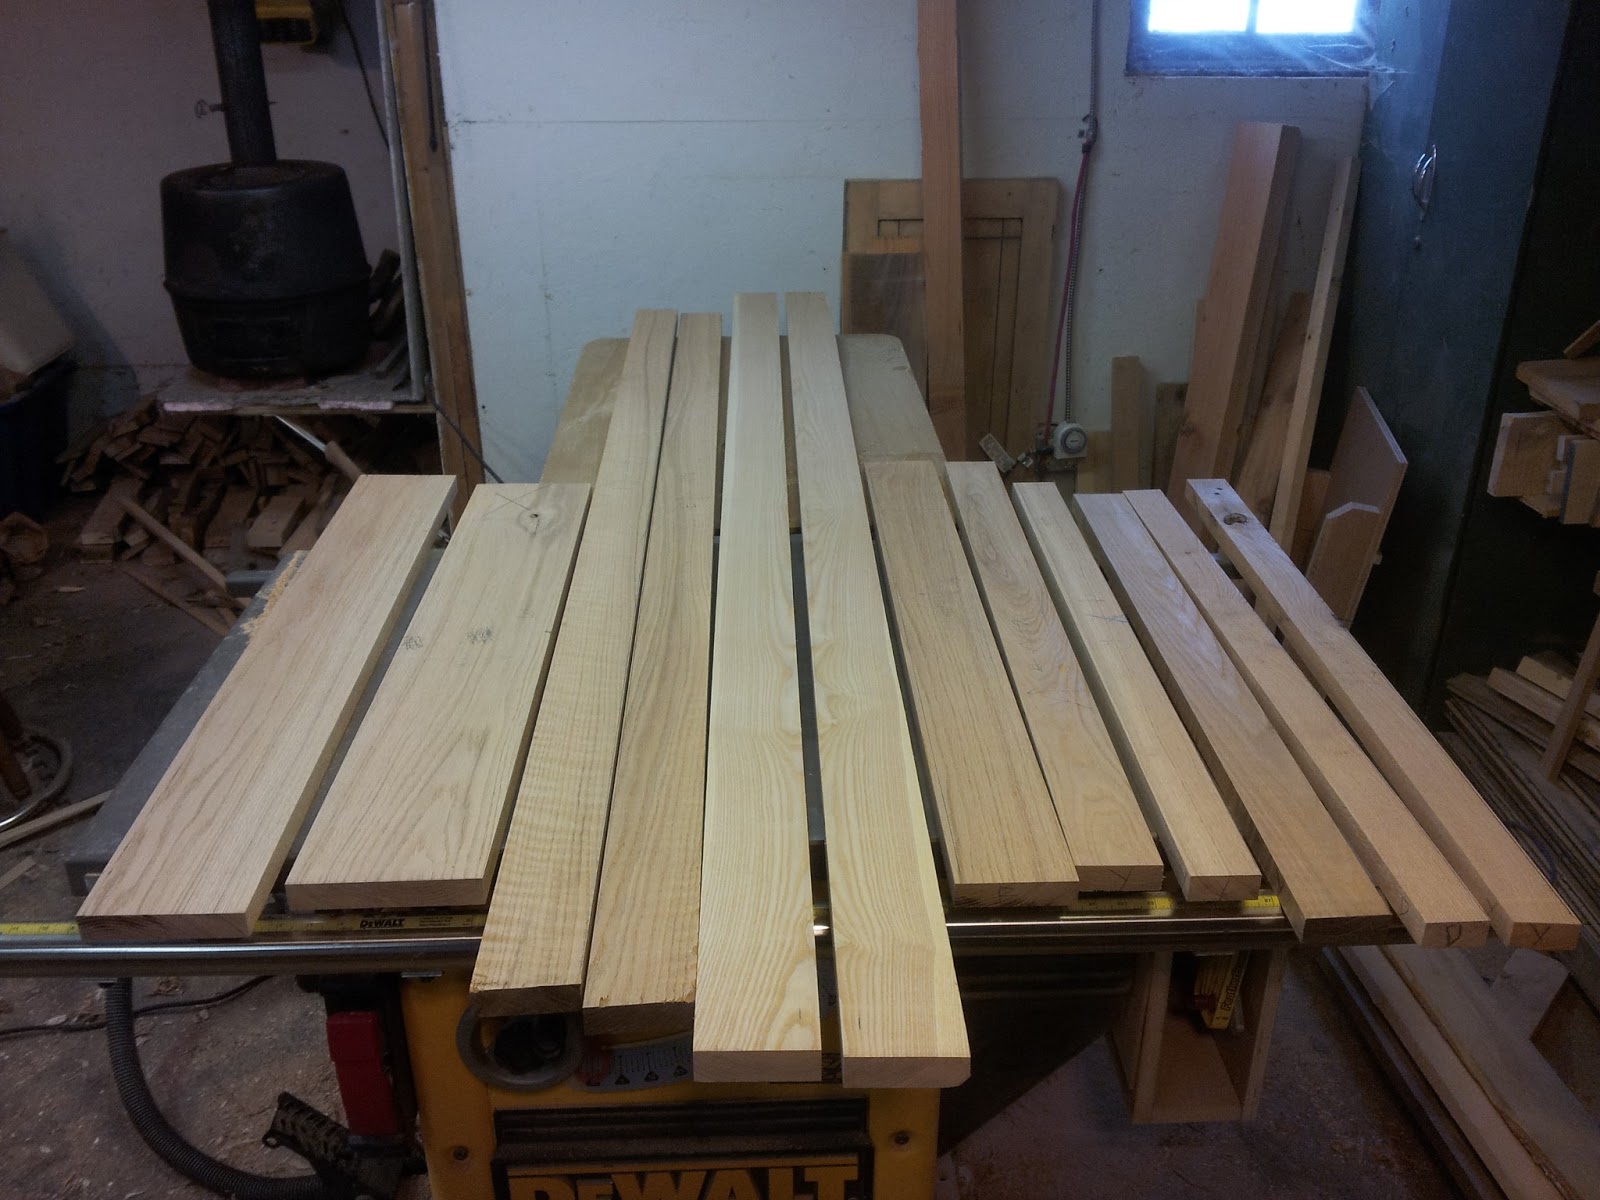
So far I've gotten most of the milling done.  The lumber was really rough so I had to spend some time with the hand planes getting one side flat enough to send them through the planer.  After a couple of sessions at the planer, and watching sooooo much nice lumber be turned into chips here's where I'm at now.  


It turns out that one of the boards has some really nice striping to it. Not too often you see that in red oak. My next steps are to  start practicing some dentil moulding and get the plywood. Hopefully I can find some good plywood that will compliment the real wood nicely. 

Monday, October 29, 2012

some new (to me) planes

I had the chance to visit an antique shop this weekend that has a ton of hand tools.  I have been there once before and must have drooled for at least an hour and walked out with 3 planes.  I had intentions of visiting again this summer but I was very disappointed to find out, as I pulled up to the door, they were closed on Sundays.  I was so excited to make it back this time... but just my luck I was only going to be there on a Sunday. So I thought what the hell, they seemed like a nice old couple, I called up and they were willing to meet me there on Sunday.  I must have thanked them a hundred times and of course left with three more planes.  He charged me $50 for the trio.  It helped out that the hand tool booth belonged to the owners.

The trio

#4

I knew I wanted a block plane for sure and found a nice Stanley #9 1/2.  This is my first block plane so I've got some practice ahead.  There's a little bit of cleanup to do but it's in good working shape.  I was kinda looking for a #3 but ended up with another #4 instead.  The thing is practically new.  The last grab was a #5.  I already have one of these too but its my favorite so I'm sure a second one will get used.  The one I already have is made in England and on comparison is a bit heftier. Oh and the new one needs a new back tote but is in otherwise good shape.


#5

Broken handle

Add caption
Here's some comparison shots of of the new and old (relatively speaking).


Stanley is new, Wards Master is old.

Wards Masters has the red frog and big brass knob

Made in England has the chrome cap and adjustment knob

The frogs have a few very notable differences 

 Made in England has a couple extra ribs behind the rear tote for added rigidity I guess. 

Wednesday, September 26, 2012

Work on the bench top

Since the last update I've gotten the top almost done.  As you can see its all glued up into the final two pieces.  It started out as three small slabs, two long ones and the short one seen here.  Well, it actually started out as about two dozen boards but I'd rather forget about that pain in the ass.  If I were to do it again I would start with much thicker boards and cut that down to 8-10 boards.  This was by far the largest glue up I've ever done and what a pain.  There was lots of planing to do just to flatten it enough to glue the two long sections together.  I did the majority of the flattening with the hand plane because my planer set-up isn't really beefy enough to handle these slabs of hard maple.  My jointer can't handle these slabs either so I was forced to fine tune the faces of the slabs with a hand plane to get a perfect fit for the glue up.


Besides the slab, I've also been working on the tail vise.  I had the core all built up already so it was just a matter of mounting things to the bench.  I had to add a block on the underside to support the vice plate and then mount the plate.  Can anybody tell me what the last two holes on the plate are for?  The other ones are all counter sunk but the last two aren't.  Right now I'm farting around with things now just to get everything fitting tight and square and making sure the doghole strip lines up nice.  


Tuesday, September 25, 2012

Excuse my absence

Well, as all new parents know free time is a thing of the past ... at least for the first 6 months.  My time in the shop is quite limited now but I do still squeeze in an hour here and there.  I'm still working on the workbench and not much else.  There are some Christmas gifts that I should figure out and a dresser for our 'Little Peanut'.  I really wanted to do a crib but there's not way I'll have time before she grows out of the cradle, which is working fantastically.  My next big project will probably be a dresser for the nursery.

Tuesday, July 3, 2012

More cradle pictures

A neat little defect I worked into the stretcher cap. 
Closeup of the joinery. 

Another "defect" that I worked in.  I had to fill the gap on this know with some superglue.

It was a real pain in the butt to get these spacers fine tuned.  I'm really happy how well it turned out.

The top stile on one of the sides has some beautiful quartersawn grain.  I'm really happy how the finishing regime popped the grain.  

I just went with an unfinished pine bottom.  I did put a layer of poly on it for some protection.