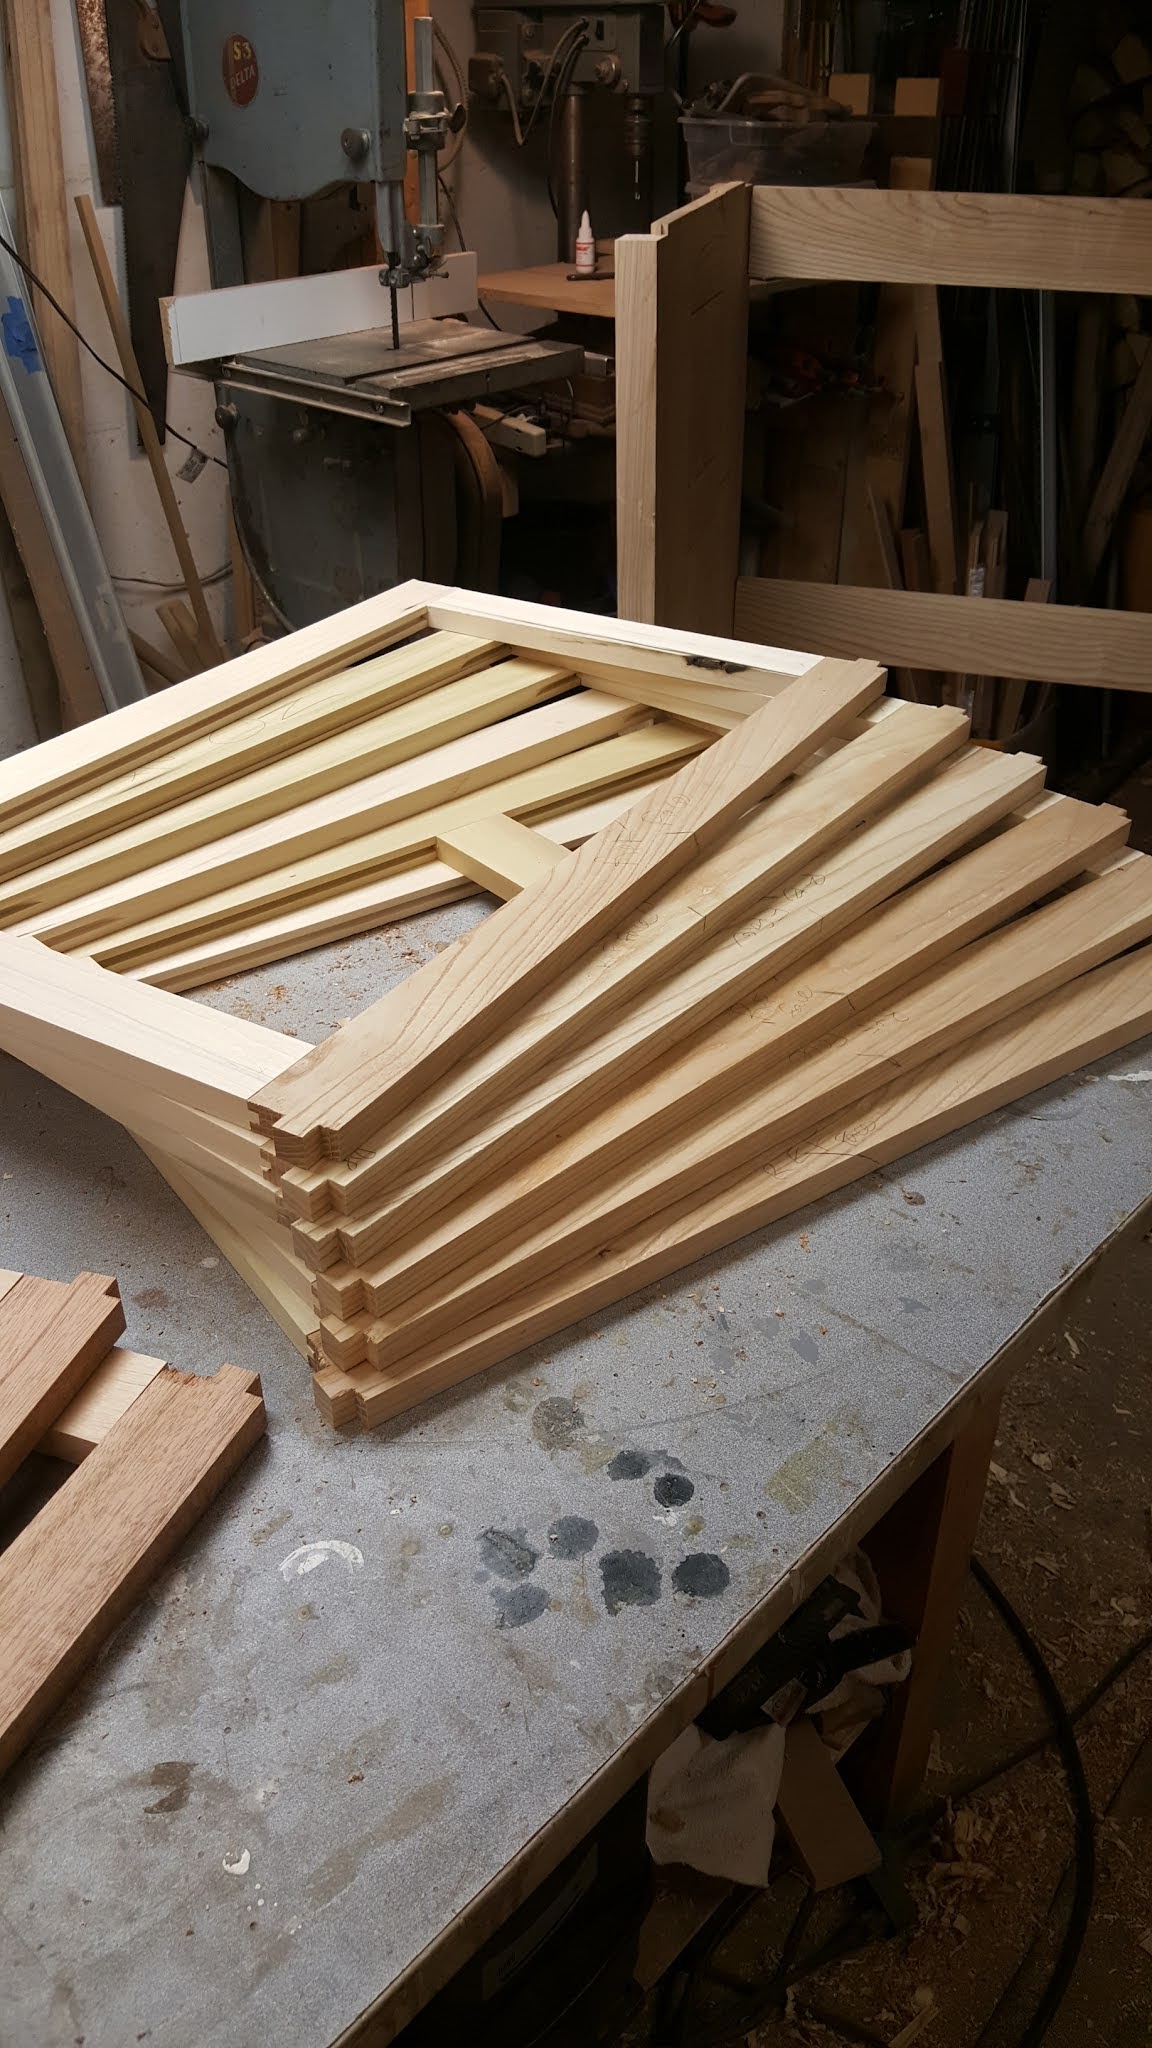
While the side assemblies are almost complete, I have lots more work to do on the 4 legs before I can glue them to the side panels. This includes all the mortises that hold the case together, including the 3 back rails and all 6 front rails. Based on the height of the drawers I was able to layout for all the joinery and cut it with my mortising machine. The modest, benchtop mortiser can't really cut much bigger than a 3/8in hole so I was forced to make the 3/4 x 3/4 mortise by making multiple cuts with a smaller bit. The tall mortises for the bottom apron and back rails was a simple, 1/4 one. The next step is to start work on the web frames that support the drawers. There are a few different ways to support drawers by I decided to go with web frames mostly because it eliminates any screwing into the case sides to mount drawer guides. This will be my first time making frames like these but the process is simple enough. The one part that has me a little worried is that, when it's all done, they will have to set into shallow groves plowed into the sides of the case. I can't even think of a way to explain it so we'll have to wait and narrate with pictures.


Web Frame Construction
It took lots of research to finally nail down how I wanted to approach this step of the build. In all the magazine articles, videos, and books I looked at, I never found a good explanation on how to do these frames. After looking at all the different resources I could find, I felt like I had enough information to make it happen. The biggest hangup was figuring out how to do the offset tenon where the front of the framing joins with the dresser leg. Here are some of the points I considered: there needs to be a strong joint at the front, the web frame needs to be supported in the sides of the chest but can't be glued in. As they say, "necessity is the mother of all invention" and what I needed to accomplish dictated the process on how to get there.
 |
| Layout for offset tenon |

The picture above gives a really good look at the finished joinery. The nice big tenon, which is 3/4 x 3/4 x 5/8 deep plus the large shoulders on either side, will make a rock-solid joint. Then you can see the 1/8 inch or so that the line marks out that will be captured by a groove plowed into the inside of the chest. The tenon and maybe the first inch or so of the frame will be all that gets glue. Because the side is solid wood, I need to account for seasonal movement. Gluing the frames the entire length across the sides would lock things too tightly and lead to a split in the wood or a failure somewhere. Besides, once the case is all glued up the web frames will be securely captured between the two sides of the dresser.

The last step of installing the web frame is to route a shallow groove on the inside of the case for it to be housed in. I already have the perfect jig for the job. It's an adjustable dado guide that's meant for this exact sort of task. I think I made it years ago for a bookcase that I made for the in-laws. One of the sides is adjustable so you just put your workpiece in the gap, tighten the two sides against it, and then tighten down the adjustable side of the jig. I used a router bit with a top-mounted bearing that rides along the jig and I've got perfect fit dadoes every time. They are easy to place because they just extend off the mortise that I already cut.


