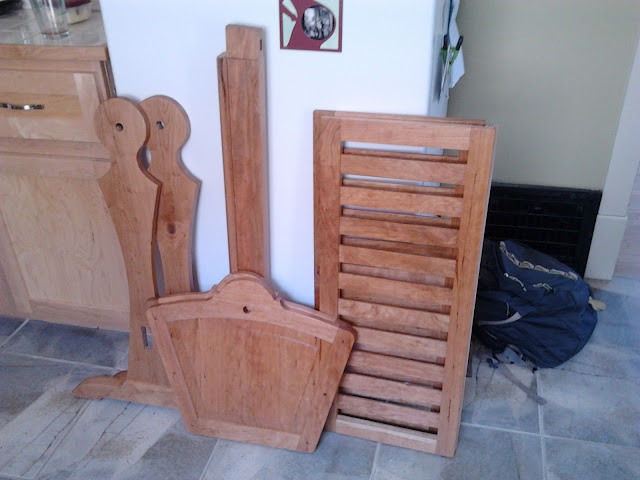
It's been a long time since a post but I've been one busy dude. There gets to be so much to do in the spring when the weather finally gets nice. It makes it especially tough to spend the roughly 10 hours in the basement doing all the finishing. Here's the lineup of parts all ready for the business. Of course I already started a few coats of finish on the panels.
The first step was to rub everything down with a coat of boiled linseed oil. It really did a nice job of bringing out the grain detail and gives it a great, warm color. As I was sanding each piece I was conscious to put the finished pieces in the dark. Cherry has a tendency to darken in the sunlight so keeping them in the dark after sanding ensured that they would all be the same shade when it was time to finish. Earlier in the project I noticed it only took a couple of hours after a sanding for the wood to start changing colors.
After the linseed oil was good and dry it was time for the many, many coats of shellac. I cut the shellac half and half with denatured alcohol. This consistency of shellac goes on easy and dries in minutes. I just used a folded up rag to apply it. With the size of these pieces I was able to do three consecutive coats on each one. All those slats on the sides were a real chore. Once the first three coats were on it was time to sand everything, again. A quick pass with some 240 grit and back to the basement for the next couple of coats of shellac. Then, of course, more sanding with the 240 before the final coats of varnish. Here's the lineup after the first round of shellac. It looks pretty much the same as when it's all done.
The final coat was varnish cut half and half with mineral spirits. Same idea as the cut shellac but it takes a little longer to dry; about and hour. It's a forgiving finish. It dries smooth with some subtle streaks. Those streaks are taken care of in the last step, steel wool. I rubbed the hell out of the thing with 0000# steel wool to give it a glass smooth, clear but not to shiny finish. I've used this method before without the steel wool and now regret it. It really gives it a finishing touch.
So now the big moment!!!
TA DA!!!!
I wish I knew how to do some cool animation here or something. I'll have to get some more closeups and angle shots and post them. I've gotten to know this project very well since I stared and I've come to appreciate some details that deserve more picture. So as satisfying as it was to get together I still wasn't quite done. It was terribly squeaky, so I had to address the dowels it swings on. I farted around on these for awhile. I sanded them and rubbed them with wax but it just wasn't getting it done. A couple of google searches later and I had a great idea. Cut flutes into the dowel to reduce the amount of wood rubbing and give the wax a place to hang out. Now it works splendidly. I'm expecting the button plugs for the ends shortly and it'll be showroom ready.


